Unlocked heck yes
Image by Steven Vance
It took a while, but I finally got it. I used a combination of applications for Windows and Mac.
Essentially, the steps for iPhone 3GS are:
1. Create a custom firmware (CFW) with: iPad baseband 06.15.00, hacktivation, jailbreak. I used sn0wbreeze 2.8 for Windows. (If you have iPhone 4, I think the same applications named below will work with iPhone 4, but ignore anything I say about the baseband.)
2. Put the iPhone in "pwned DFU mode" and use iTunes to load the CFW. The iPhone will attempt to restart but will never finish. (pwned DFU mode is different than regular DFU mode. It must be in pwned DFU mode to accept CFWs.)
3. Since iOS 5.0.1 is an "untethered jailbreak", you must boot with a program every time. So I used redsn0w 0.9.9b9 to do this, but for some reason it won't actually restart the phone. So then I use iBoot while the phone is still in a "receptive" mode.
4. Once it turns on, go through the setup process. You can restore from a backup via iTunes if you want (I did).
5. Go to Cydia and download ultrasn0w after adding the repository repo666.ultrasn0w.com. Install ultrasn0w and let the phone attempt to reboot (go back to setup 3, then to step 6).
6. Insert your SIM card and wait for the iPhone to find your new carrier!
The background photo is kind of dumb, it's the Eco Park parking garage on Kinzie and Clark Streets in River North, Chicago. The wind turbines make probably 10 revolutions a year.
Raw file storage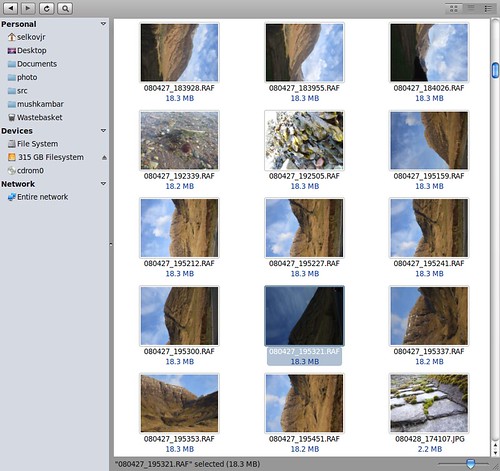
Image by selkovjr
Previous: Shooting the raw frames
Unloading the camera
The first thing I do when I come home is to unload the camera so it is ready for next time. The truth is, my camera's 2Gb card has never been even close to full, but I unload it nonetheless (if only because I am curious how well the last series of shots turned out.
Unloading the pictures in the right way is an important part of the process. Storing them so that they are easy to find and never get lost is a know-how that was earned through much trial and error.
I store all my raw images in one flat directory on a huge external drive, where they are indexed by the timestamp. I also store the edited versions of the raw images in another directory on the same drive. That way, I can easily replicate both the source and the results of my editing work for backup, and it is extremely easy to browse the entire collection using a thumbnail utility (I use Nautilus, which is part of Gnome).
However, I process the pictures in a directory tree organised by the place the pictures were taken or by the subject, rooted in my Documents folder. Each directory in the photo hierachy has a Makefile with processing instructions and two symlinks:
raw → ../raw
edited → ../edited
The top photo directory has the same symlinks, but in this case, they link to an actual mount point of my storage device:
raw → /media/disk/Documents/photo/raw
edited → /media/disk/Documents/photo/edited
Get it? The symlinks are chained all the way up to the photo root, and that's the only place where I need to switch them when I swap my storage devices, but I do not need to do that unless I migrate to a different device. I have configured my mount daemon in such a way that whenever I plug in the external device, it always gets mounted to the same mount point. When I work with the photos, I plug the device in. When I'm done, I unplug it. None of those bulky raw files or edited images ever hit my over-crowded system drive. On it, I only keep the instructions for what to do with the images (and even those get backed up to the same external drive).
Now, this wonderfully simple and convenient photo storage depends on a particular naming scheme. I want all my raw images to have a unique name and be ordered by creation time. The obvious way to do it is to make the timestamp part of the file name (remember I told you that keeping your camera clock current was important?)
So, before I dump my new pictures into their permanent storage, I rename them. Using the camera -generated file names is not only inconvenient, but is also risky. I have lost a bunch of images as a result of inserting a new flash card into the camera. The file naming scheme was automatically reset, and when I unloaded the new pictures into the storage, the old ones with the same names got overwritten. Never again. Here's what I do:
- copy the files into a temp directory
plug the camera in (USB) — it gets mounted to /media/camera
mkdir tmp
cp -iv /media/camera/DCIM/101OLYMP/P62*ORF tmp # just an example
rm -rf /media/camera/DCIM
umount /media/camera
- Rename the files
exiftool "-FileName<DateTimeOriginal" -d "%y%m%d_%H%M%S.%%e" tmp
What this does is take the timestamp from each file in ./tmp and write it into the file name in the specified format. For example:
P62005.ORF ⇒ 080427_195321.ORF
As you can see, the only part of the original name that I keep is the file suffix. I have two different cameras and they use different suffixes when they create files on their media, so by keeping the suffix intact, I can easily tell which camera create which file. It is not necessary because the timestamp guarantees uniqueness (did I tell you to keep your clock current?), but it is a convenience that I got to favour with time.
After this, the files can be copied to their permanent storage directory, where they will happily coexist with the old files. It does not matter what creation times the files have; they can always be sorted by name and viewed in the order they were shot.
Next: Decoding the raw files
Centralia Hardware Company 1907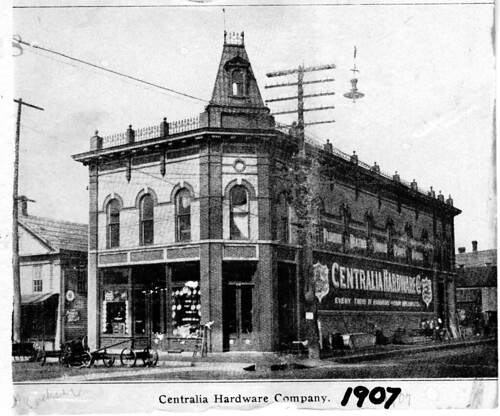
Image by McMillan Memorial Library (Historical Collections)
www.mcmillanlibrary.org/taylor/photos/photo128.JPG
In the middle picture and also the card insert to the left, is shown the Centralia Hardware building as a single store in those days. The insert at the left of it shows the same hardware store but in addition to it is the two story frame building that Mr. Nash was used as a warehouse. This is the same frame building referred to as the Post Office, H. W. Jackson built. This insert card is dated 1907.
Invitation Set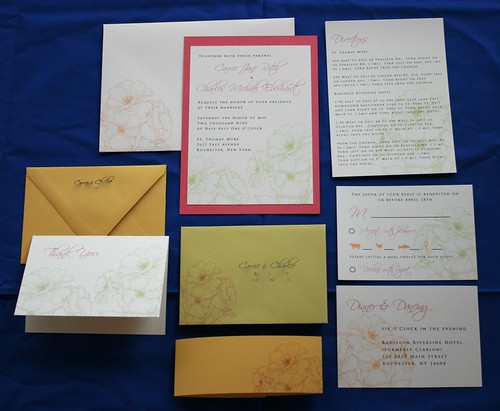
Image by carriejeberhardt
Our wedding invitations, inserts and thank you cards.
Designed and printed by www.MyUglyKitty.com. Photo also by MyUglyKitty.com.
Cholie modeling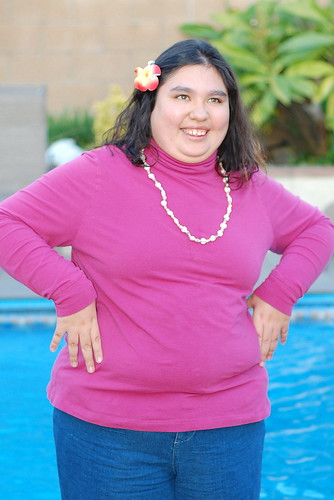
Image by '|'||'| '|'[]||{
My niece. We were taking photos to insert in our Christmas card.
No comments:
Post a Comment